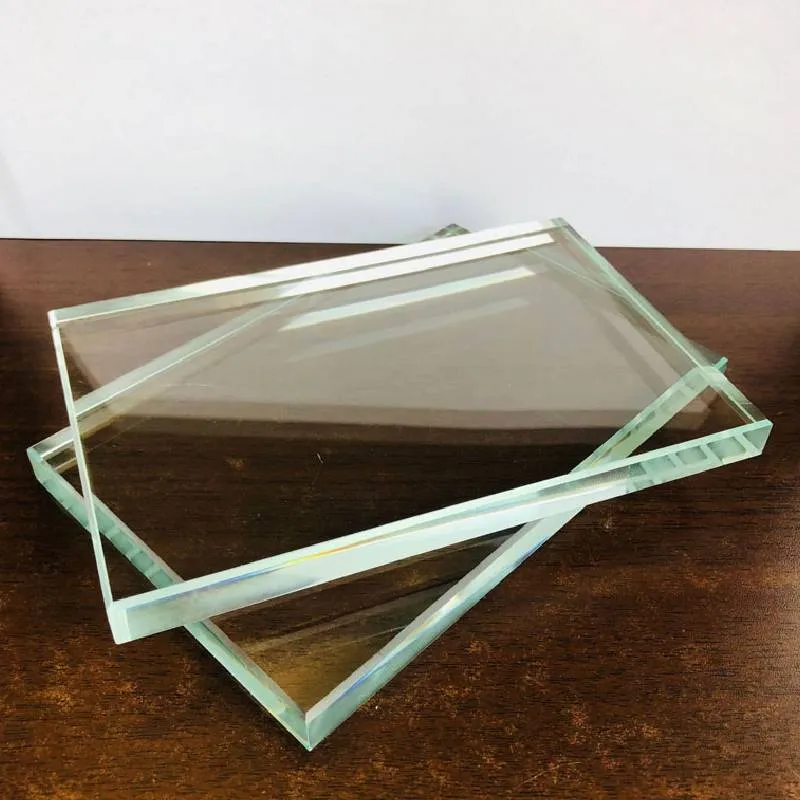
How to Replace Rear View Mirror Glass A Step-by-Step Guide
The rear view mirror is an essential component of any vehicle, providing the driver with a clear view of what is happening behind. Unfortunately, the glass can become damaged or break over time due to various reasons, such as accidents, extreme weather conditions, or simply wear and tear. When this happens, you may find it necessary to replace the rear view mirror glass. This guide will provide you with a detailed step-by-step approach to help you through the process of replacing the glass.
Step 1 Gather Necessary Tools and Materials
Before you begin the replacement process, it is crucial to gather all the required tools and materials. You will typically need
- A replacement rear view mirror glass specific to your vehicle’s make and model.
- A flathead screwdriver or a putty knife.
- Double-sided adhesive or specialty rear view mirror adhesive.
- A clean cloth and glass cleaner.
- A safety goggles and gloves for protection.
Step 2 Remove the Existing Mirror Glass
Start by carefully removing the existing glass from the rear view mirror. If the glass is intact but cracked, take caution to avoid injury. Use the flathead screwdriver or putty knife to gently pry the glass away from the mount. Be careful not to apply excessive force, as this could damage the mirror housing. If the glass is shattered, use gloves to protect your hands from sharp edges.
Step 3 Clean the Mounting Surface
Once the glass is removed, it’s time to prepare the mounting surface. Use a clean cloth and glass cleaner to wipe away any dust, dirt, or adhesive residue left on the mirror housing. A clean surface is critical for ensuring that the new mirror glass adheres properly to the mount.
Step 4 Apply Adhesive
replace rear view mirror glass
To attach the new glass, apply a thin layer of double-sided adhesive or specialized rear view mirror adhesive to the back of the new rear view mirror glass. Make sure to follow the instructions provided with the adhesive to ensure optimal bonding. If using double-sided tape, cut it to size to match the dimensions of the glass.
Step 5 Install the New Mirror Glass
Carefully align the new rear view mirror glass with the mounting surface and gently press it into place. Make sure that the glass is positioned correctly and that there are no gaps between the glass and the mounting surface. Hold it in place for a few moments to allow the adhesive to set.
Step 6 Test the Mirror
Once the new glass is in place, it’s important to test its positioning. Adjust it as needed to ensure a clear and unobstructed view of the rear area. If the glass has a tilt or the alignment isn’t quite right, you may need to remove it again and reposition it.
Step 7 Clean Up and Final Checks
After installation, make sure to clean the new glass with a gentle glass cleaner to remove any fingerprints or smudges that might have occurred during the installation process. Also, check to ensure that the mirror is secure and stable.
Conclusion
Replacing rear view mirror glass is a straightforward process that can save you the cost of a professional repair. By following these steps, you can restore your vehicle’s rear view mirror to full functionality. Remember, safety is paramount, so take your time and wear protective gear as needed. A clear rear view mirror is essential for safe driving, so don’t delay in addressing any damage!
 Afrikaans
  Albanian
  Amharic
  Arabic
  Armenian
  Azerbaijani
  Basque
  Belarusian
  Bengali
  Bosnian
  Bulgarian
  Catalan
  Cebuano
  Corsican
  Croatian
  Czech
Czech  Danish
  Dutch
Dutch  English
  Esperanto
  Estonian
  Finnish
  French
  Frisian
  Galician
  Georgian
  German
  Greek
Greek  Gujarati
  Haitian Creole
  hausa
hausa  hawaiian
  Hebrew
  Hindi
Hindi  Miao
Miao  Hungarian
  Icelandic
  igbo
igbo  Indonesian
  irish
irish  Italian
  Japanese
  Javanese
  Kannada
  kazakh
  Khmer
Khmer  Rwandese
  Korean
  Kurdish
  Kyrgyz
  Lao
Lao  Latin
Latin  Latvian
  Lithuanian
  Luxembourgish
  Macedonian
  Malgashi
  Malay
Malay  Malayalam
  Maltese
  Maori
Maori  Marathi
  Mongolian
  Myanmar
  Nepali
  Norwegian
  Norwegian
  Occitan
  Pashto
  Persian
  Polish
  Portuguese
  Punjabi
  Romanian
  Russian
  Samoan
  Scottish Gaelic
  Serbian
  Sesotho
  Shona
Shona  Sindhi
  Sinhala
  Slovak
  Slovenian
  Somali
  Spanish
  Sundanese
  Swahili
  Swedish
  Tagalog
  Tajik
Tajik  Tamil
Tamil  Tatar
Tatar  Telugu
  Thai
Thai  Turkish
  Turkmen
  Ukrainian
  Urdu
Urdu  Uighur
  Uzbek
Uzbek  Vietnamese
  Welsh
Welsh  Bantu
Bantu  Yiddish
  Yoruba
  Zulu
Zulu 

