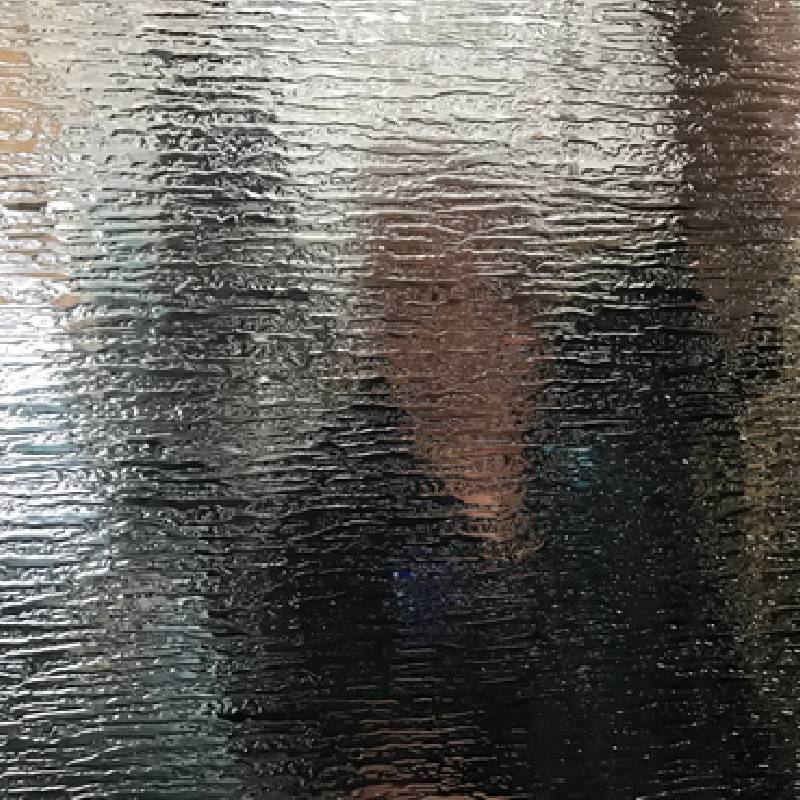
Acid Etching Glass at Home A Creative Guide
Acid etching is a popular technique used to create intricate designs on glass surfaces, adding a unique touch to various items such as vases, windows, and picture frames. While commercial artists often employ acid etching, it’s also something that can be undertaken as a DIY project at home. This article will guide you through the essential steps, safety precautions, and creative ideas for acid etching glass at home.
What is Acid Etching?
Acid etching involves using a solution of hydrofluoric acid or a less potent alternative, like etching cream, to create frosted designs on glass. The acid reacts with the silica in the glass, causing a chemical change that results in an etched effect. This technique can produce detailed, beautiful designs that are perfect for personalization or artistic expression.
Safety First
Before diving into your acid etching project, safety should be your top priority. While etching cream is user-friendly, proper precautions are essential
1. Protective Gear Always wear safety goggles, rubber gloves, and a mask to prevent any irritation from splashes or fumes.
2. Ventilation Work in a well-ventilated area or outdoors to avoid inhaling any dangerous vapors.
3. Storage Keep acids and chemicals out of reach of children and pets, ensuring they are stored in clearly labeled containers.
Materials Needed
Gather all the necessary supplies before starting your project
- Clear glass item (e.g., a jar, vase, or window pane)
- Etching cream (e.g., Armor Etch)
- Stencil or masking tape
- Brush for applying etching cream
- Protective gear (gloves, goggles, mask)
- Clean cloth for wiping excess cream
- Water for rinsing
acid etching glass at home
Steps to Acid Etch Glass
1. Prepare the Glass Clean the glass thoroughly to remove any grease or dirt. This ensures that the etching cream adheres properly.
2. Design Your Pattern You can create your own stencil or use pre-made designs. Apply the stencil to the glass using masking tape to ensure it stays in place.
3. Apply Etching Cream Using a brush, apply a generous amount of etching cream over the exposed areas of the glass. Be careful not to let it drip onto unintended sections.
4. Wait Follow the manufacturer’s instructions regarding how long to leave the cream on. Typically, it will be about 10-15 minutes.
5. Rinse and Remove After the recommended time, rinse the glass thoroughly under running water to remove the cream. Carefully peel off the stencil and clean the glass.
6. Final Touch Inspect your design, and if there are any rough edges, gently sand them down for a smoother finish.
Creative Ideas
The possibilities with acid etching are endless. You can personalize gifts for weddings or anniversaries, create unique home décor items, or make custom drinkware. Experiment with different designs, from floral patterns to geometric shapes, allowing your creativity to shine.
Conclusion
Acid etching glass at home can be a rewarding and enjoyable project. With proper safety measures, materials, and techniques, you can create stunning glass pieces that reflect your unique style. Whether you’re making gifts or home décor, this engaging craft will leave your mark on your living space!
 Afrikaans
  Albanian
  Amharic
  Arabic
  Armenian
  Azerbaijani
  Basque
  Belarusian
  Bengali
  Bosnian
  Bulgarian
  Catalan
  Cebuano
  Corsican
  Croatian
  Czech
Czech  Danish
  Dutch
Dutch  English
  Esperanto
  Estonian
  Finnish
  French
  Frisian
  Galician
  Georgian
  German
  Greek
Greek  Gujarati
  Haitian Creole
  hausa
hausa  hawaiian
  Hebrew
  Hindi
Hindi  Miao
Miao  Hungarian
  Icelandic
  igbo
igbo  Indonesian
  irish
irish  Italian
  Japanese
  Javanese
  Kannada
  kazakh
  Khmer
Khmer  Rwandese
  Korean
  Kurdish
  Kyrgyz
  Lao
Lao  Latin
Latin  Latvian
  Lithuanian
  Luxembourgish
  Macedonian
  Malgashi
  Malay
Malay  Malayalam
  Maltese
  Maori
Maori  Marathi
  Mongolian
  Myanmar
  Nepali
  Norwegian
  Norwegian
  Occitan
  Pashto
  Persian
  Polish
  Portuguese
  Punjabi
  Romanian
  Russian
  Samoan
  Scottish Gaelic
  Serbian
  Sesotho
  Shona
Shona  Sindhi
  Sinhala
  Slovak
  Slovenian
  Somali
  Spanish
  Sundanese
  Swahili
  Swedish
  Tagalog
  Tajik
Tajik  Tamil
Tamil  Tatar
Tatar  Telugu
  Thai
Thai  Turkish
  Turkmen
  Ukrainian
  Urdu
Urdu  Uighur
  Uzbek
Uzbek  Vietnamese
  Welsh
Welsh  Bantu
Bantu  Yiddish
  Yoruba
  Zulu
Zulu 

