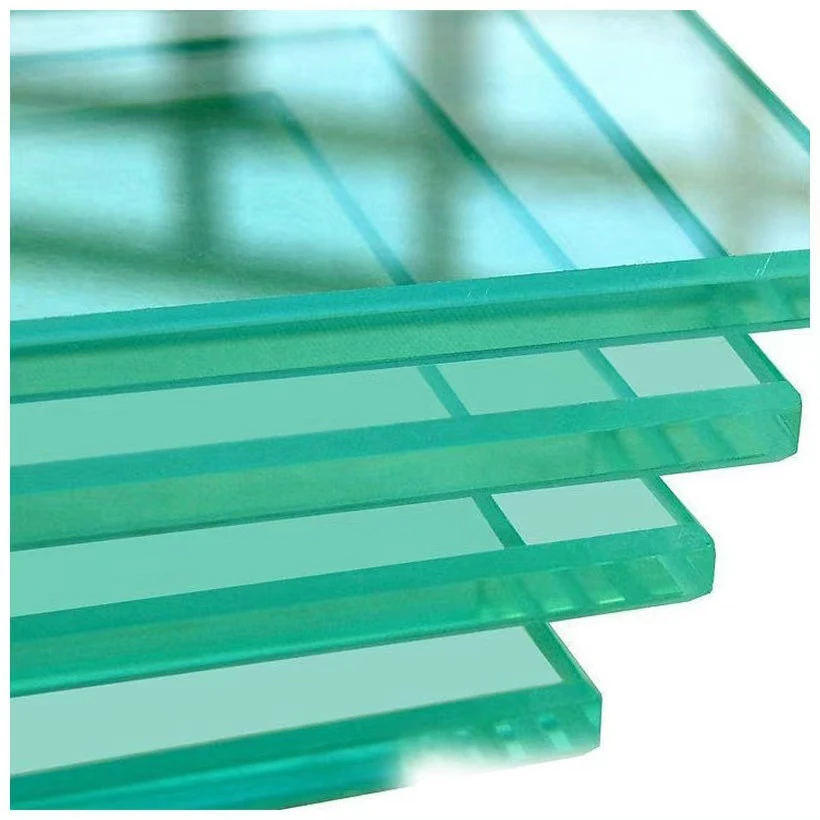
Acid Etching Glass at Home A Creative Adventure
Acid etching glass is an artistic process that allows you to create intricate designs on glass surfaces. While it may seem daunting to tackle such a project at home, the right knowledge and precautions can make it a rewarding experience. This article will guide you through the essentials of acid etching glass, including materials, safety precautions, techniques, and creative ideas.
What is Acid Etching?
Acid etching is a technique that uses acid substances to create a frosted effect on glass surfaces. This process can involve various types of acids, but the most common and accessible one for home use is hydrofluoric acid, which is found in commercial etching creams. The acid reacts with the glass, removing a small layer and creating a textured, opaque surface.
Materials Needed
To begin your acid etching project, you'll need a few essential materials
1. Glass Items You can etch anything from glass jars, bottles, to mirrors.
2. Acid Etching Cream Obtain a reputable product specifically designed for glass etching.
3. Protective Gear Safety goggles, gloves, and a mask are crucial for protection against fumes and skin contact.
4. Stencil or Design You can either purchase pre-made stencils or create your own using contact paper or vinyl.
5. Application Tools A brush or sponge for applying the etching cream, and tape or adhesive for securing stencils.
Safety Precautions
Safety should be your top priority when working with acids. Always work in a well-ventilated area, preferably outdoors. Wear protective gloves, goggles, and a mask to prevent any direct contact with skin or inhalation of fumes. It’s also a good idea to have a neutralizing agent on hand, such as baking soda, in case of accidental spills.
acid etching glass at home
Techniques for Acid Etching
1. Preparing the Glass Start by cleaning the glass thoroughly to remove any oils or dust that may interfere with the etching process. Dry it completely before proceeding.
2. Applying the Stencil If you're using a stencil, carefully apply it to the glass surface. Ensure there are no bubbles trapped underneath, as these can lead to uneven etching.
3. Applying the Etching Cream Using a brush or sponge, apply a generous amount of etching cream over the stencil. Make sure to cover the exposed areas of the glass evenly.
4. Waiting Period Allow the cream to sit for the time recommended by the manufacturer, usually between 5 to 15 minutes. Monitor carefully to avoid over-etching, which can result in an undesired look.
5. Rinsing Off After the waiting period, rinse the glass under running water to remove the etching cream. Carefully peel off the stencil, and you will reveal your beautiful design.
Creative Ideas
The possibilities for designs are endless. From geometric shapes and floral patterns to personalized initials and quotes, you can customize your glassware to reflect your style. Consider making etched glass gifts for friends or family, such as personalized wine glasses or decorative jars. For a more advanced project, try layering different designs or combining etching with painting techniques.
In conclusion, acid etching glass at home can be both enjoyable and fulfilling. With the proper materials, safety precautions, and techniques, you can create stunning glass art that enhances your home or serves as a meaningful gift. So gather your supplies, unleash your creativity, and start your acid etching adventure today!
 Afrikaans
  Albanian
  Amharic
  Arabic
  Armenian
  Azerbaijani
  Basque
  Belarusian
  Bengali
  Bosnian
  Bulgarian
  Catalan
  Cebuano
  Corsican
  Croatian
  Czech
Czech  Danish
  Dutch
Dutch  English
  Esperanto
  Estonian
  Finnish
  French
  Frisian
  Galician
  Georgian
  German
  Greek
Greek  Gujarati
  Haitian Creole
  hausa
hausa  hawaiian
  Hebrew
  Hindi
Hindi  Miao
Miao  Hungarian
  Icelandic
  igbo
igbo  Indonesian
  irish
irish  Italian
  Japanese
  Javanese
  Kannada
  kazakh
  Khmer
Khmer  Rwandese
  Korean
  Kurdish
  Kyrgyz
  Lao
Lao  Latin
Latin  Latvian
  Lithuanian
  Luxembourgish
  Macedonian
  Malgashi
  Malay
Malay  Malayalam
  Maltese
  Maori
Maori  Marathi
  Mongolian
  Myanmar
  Nepali
  Norwegian
  Norwegian
  Occitan
  Pashto
  Persian
  Polish
  Portuguese
  Punjabi
  Romanian
  Russian
  Samoan
  Scottish Gaelic
  Serbian
  Sesotho
  Shona
Shona  Sindhi
  Sinhala
  Slovak
  Slovenian
  Somali
  Spanish
  Sundanese
  Swahili
  Swedish
  Tagalog
  Tajik
Tajik  Tamil
Tamil  Tatar
Tatar  Telugu
  Thai
Thai  Turkish
  Turkmen
  Ukrainian
  Urdu
Urdu  Uighur
  Uzbek
Uzbek  Vietnamese
  Welsh
Welsh  Bantu
Bantu  Yiddish
  Yoruba
  Zulu
Zulu 

