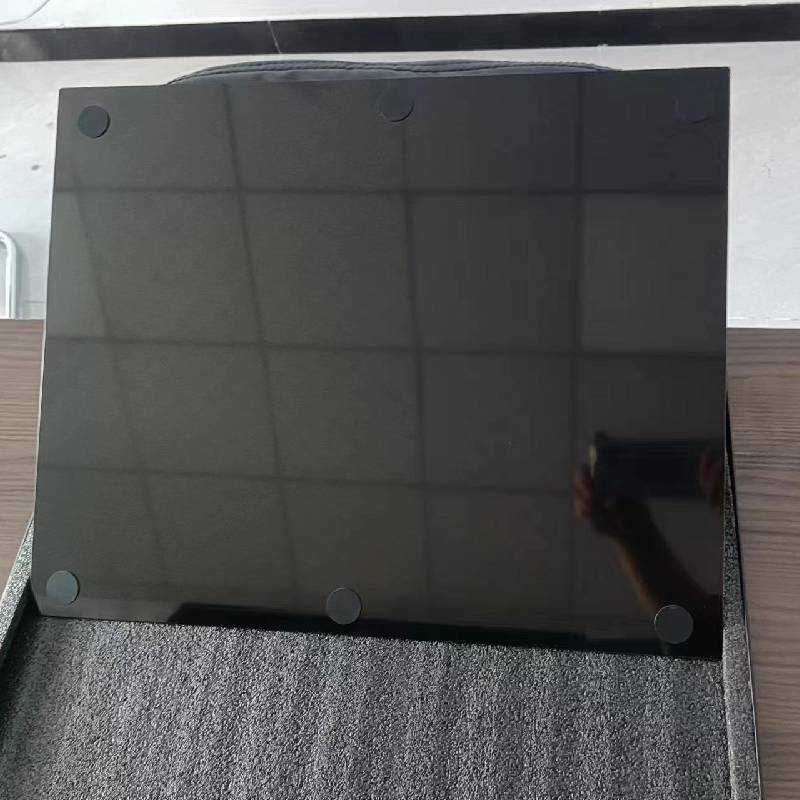
A DIY Guide to Acid Etching Glass at Home
Glass etching is a creative way to personalize your glass items, such as windows, mirrors, or drinking glasses. One popular method is acid etching, which produces exquisite, frosted designs. While commercial services are available, many enthusiasts prefer the hands-on experience of doing it themselves at home. This article will guide you through the process of acid etching glass safely and effectively.
What You Need
Before you start, gather the necessary materials
1. Glass Item Ensure it’s clean and free of dust or grease.
2. Acid Etching Cream Available at craft stores, this compound contains hydrofluoric acid and creates a frosted look on glass.
3. Stencils or Tape You can purchase ready-made stencils or create your own using adhesive vinyl.
4. Protective Gear Safety goggles, gloves, and a mask to protect against fumes and skin contact.
5. Spongy Applicator A brush or sponge to apply the etching cream.
6. Protective Cover newspaper or plastic to cover your work area.
Preparation
1. Choose a Design Decide on the pattern you want to etch. This could be as simple as shapes and lines or as intricate as floral designs.
2. Prepare the Glass Clean the glass thoroughly with soap and water or rubbing alcohol to ensure the surface is free of contaminants.
3. Apply the Stencils If using stencils, apply them firmly to the surface of the glass. If you opt for tape, create your design by masking off the areas you want to remain clear.
Safety Precautions
acid etching glass at home
Acid etching cream can be harmful if not handled correctly. Always work in a well-ventilated area. Wear protective gear at all times, including gloves and goggles. It's also wise to keep a bottle of vinegar nearby to neutralize any accidental spills, as vinegar can counteract the acid's effects.
The Etching Process
1. Applying the Cream Using a sponge or brush, apply a thick layer of acid etching cream over the exposed areas of the glass (the parts not covered by stencils). Be generous, as an even application ensures a more consistent etching process.
2. Timing Let the cream sit for the amount of time specified in the product instructions, usually between 5 to 20 minutes, depending on the desired depth of the etch.
3. Rinsing After the designated time, rinse the glass thoroughly under running water to remove all the etching cream. Ensure no product is left on the glass, as it can continue to etch even after rinsing. If there are any drips or uneven areas, you can reapply the cream as needed.
Finishing Touches
Once rinsed and dried, remove the stencils or tape. Inspect your work, and if you find areas that need refining, you might reapply some etching cream with a brush for touch-ups.
Conclusion
Acid etching glass at home is a rewarding project that allows you to customize your glassware with unique designs. By following the necessary safety precautions and steps, you can create beautiful, frosted glass items that reflect your personal style. It’s an excellent way to add a touch of elegance to your home décor or create personalized gifts for friends and family. Remember, practice makes perfect—so don’t be afraid to experiment with designs and techniques. Happy etching!
 Afrikaans
  Albanian
  Amharic
  Arabic
  Armenian
  Azerbaijani
  Basque
  Belarusian
  Bengali
  Bosnian
  Bulgarian
  Catalan
  Cebuano
  Corsican
  Croatian
  Czech
Czech  Danish
  Dutch
Dutch  English
  Esperanto
  Estonian
  Finnish
  French
  Frisian
  Galician
  Georgian
  German
  Greek
Greek  Gujarati
  Haitian Creole
  hausa
hausa  hawaiian
  Hebrew
  Hindi
Hindi  Miao
Miao  Hungarian
  Icelandic
  igbo
igbo  Indonesian
  irish
irish  Italian
  Japanese
  Javanese
  Kannada
  kazakh
  Khmer
Khmer  Rwandese
  Korean
  Kurdish
  Kyrgyz
  Lao
Lao  Latin
Latin  Latvian
  Lithuanian
  Luxembourgish
  Macedonian
  Malgashi
  Malay
Malay  Malayalam
  Maltese
  Maori
Maori  Marathi
  Mongolian
  Myanmar
  Nepali
  Norwegian
  Norwegian
  Occitan
  Pashto
  Persian
  Polish
  Portuguese
  Punjabi
  Romanian
  Russian
  Samoan
  Scottish Gaelic
  Serbian
  Sesotho
  Shona
Shona  Sindhi
  Sinhala
  Slovak
  Slovenian
  Somali
  Spanish
  Sundanese
  Swahili
  Swedish
  Tagalog
  Tajik
Tajik  Tamil
Tamil  Tatar
Tatar  Telugu
  Thai
Thai  Turkish
  Turkmen
  Ukrainian
  Urdu
Urdu  Uighur
  Uzbek
Uzbek  Vietnamese
  Welsh
Welsh  Bantu
Bantu  Yiddish
  Yoruba
  Zulu
Zulu 

