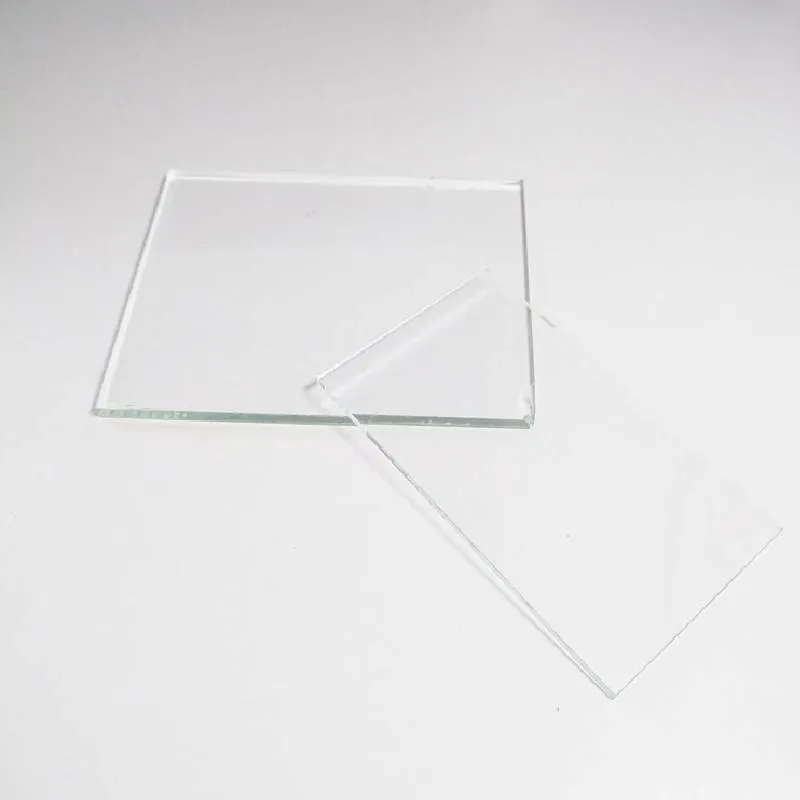
Replacing Mirror Glass in a Frame A Step-by-Step Guide
Replacing the glass in a mirror frame can seem like a daunting task, but with the right tools and a bit of patience, you can do it yourself. Whether your mirror glass has broken, cracked, or you simply want to update the look of your space, this guide provides a comprehensive overview of how to replace mirror glass in a frame.
Gather Your Tools and Materials
Before you start, it’s essential to gather all the necessary tools and materials. Here’s what you’ll need
- Replacement mirror glass
- Measuring tape
- Glass cutter (if you're cutting the glass yourself)
- Safety goggles
- Work gloves
- Flathead screwdriver
- Pliers
- Mirror adhesive (or mirror mounting clips)
- Clean cloth
- Cleaning solution (optional)
With your tools ready, you’re set to begin the process.
Step 1 Measure the Old Mirror Glass
Start by removing the damaged mirror glass from the frame. Carefully take it out by gently prying off any backing or clips holding it in place. Once removed, use a measuring tape to measure the dimensions of the glass. This measurement will be crucial when you order or cut your new replacement glass.
Step 2 Obtain Replacement Glass
You have a couple of options for obtaining replacement mirror glass. You can take your old mirror to a local glass shop, where they can cut a new piece to match the dimensions exactly. Alternatively, many home improvement stores sell pre-cut mirror glass in standard sizes. If you’re keen on a custom look, consider ordering specialized mirror glass online.
Step 3 Prepare the Frame
replacing mirror glass in frame
While waiting for your replacement glass, take the time to clean and prepare the frame. Dust and debris can accumulate, so wiping it down with a clean cloth and, if necessary, a cleaning solution will ensure a spotless finish. Check for any damage in the frame itself, as you may want to repair or paint it before reinstalling the mirror.
Step 4 Install the New Mirror Glass
Once you have your new mirror glass, you’re ready to install it. Carefully place the new mirror glass into the frame. If you’re using mirror adhesive, apply a thin line around the edges of the frame. Gently press the mirror into the adhesive, ensuring that it is positioned correctly. If you’re using mounting clips, secure them in place to hold the mirror firmly.
Step 5 Allow the Adhesive to Cure
If you opted for adhesive, it’s crucial to allow it to cure properly. Check the adhesive’s instructions for curing times, as this can vary. During this time, avoid disturbing the mirror to ensure a strong bond is formed between the glass and frame.
Step 6 Final Touches
Once the adhesive has cured, give the mirror a gentle wipe with a glass cleaner to remove any smudges or fingerprints acquired during the installation. Finally, return the mirror to its original spot, ensuring to securely hang it or place it on a surface as appropriate.
Safety Precautions
Working with glass can be hazardous, so it’s essential to take safety precautions. Always wear safety goggles and gloves to protect yourself from sharp edges. If the broken glass is extensive, consider using a vacuum to clean up small shards and avoid cutting yourself.
Conclusion
Replacing mirror glass in a frame can be a straightforward project when approached methodically. By following these steps and ensuring you have the right tools, you can successfully complete this task and rejuvenate your decor. Not only will this refresh your living space, but it may also save you money compared to purchasing a new mirror. With patience and care, you’ll enhance the elegance of your home, reflecting style and personality in every angle.
 Afrikaans
  Albanian
  Amharic
  Arabic
  Armenian
  Azerbaijani
  Basque
  Belarusian
  Bengali
  Bosnian
  Bulgarian
  Catalan
  Cebuano
  Corsican
  Croatian
  Czech
Czech  Danish
  Dutch
Dutch  English
  Esperanto
  Estonian
  Finnish
  French
  Frisian
  Galician
  Georgian
  German
  Greek
Greek  Gujarati
  Haitian Creole
  hausa
hausa  hawaiian
  Hebrew
  Hindi
Hindi  Miao
Miao  Hungarian
  Icelandic
  igbo
igbo  Indonesian
  irish
irish  Italian
  Japanese
  Javanese
  Kannada
  kazakh
  Khmer
Khmer  Rwandese
  Korean
  Kurdish
  Kyrgyz
  Lao
Lao  Latin
Latin  Latvian
  Lithuanian
  Luxembourgish
  Macedonian
  Malgashi
  Malay
Malay  Malayalam
  Maltese
  Maori
Maori  Marathi
  Mongolian
  Myanmar
  Nepali
  Norwegian
  Norwegian
  Occitan
  Pashto
  Persian
  Polish
  Portuguese
  Punjabi
  Romanian
  Russian
  Samoan
  Scottish Gaelic
  Serbian
  Sesotho
  Shona
Shona  Sindhi
  Sinhala
  Slovak
  Slovenian
  Somali
  Spanish
  Sundanese
  Swahili
  Swedish
  Tagalog
  Tajik
Tajik  Tamil
Tamil  Tatar
Tatar  Telugu
  Thai
Thai  Turkish
  Turkmen
  Ukrainian
  Urdu
Urdu  Uighur
  Uzbek
Uzbek  Vietnamese
  Welsh
Welsh  Bantu
Bantu  Yiddish
  Yoruba
  Zulu
Zulu 

