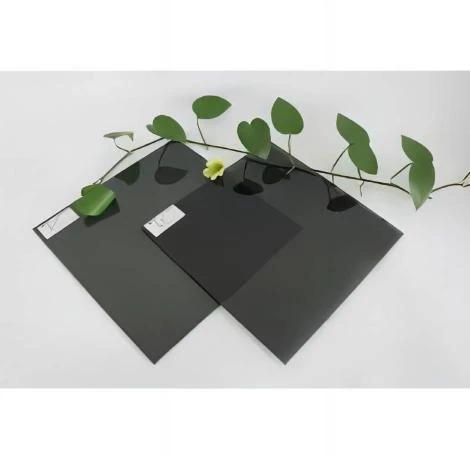
Framing a Plate Glass Mirror A Step-by-Step Guide
Mirrors have an undeniable ability to enhance the aesthetics of a space. Whether you're looking to create an illusion of space in a small room or simply want to add a decorative touch to your home, a well-framed plate glass mirror can be an excellent choice. Framing your mirror not only protects its edges and enhances its design but also allows you to customize it to match your decor. Here’s a step-by-step guide on how to frame a plate glass mirror and elevate its visual appeal.
Understanding Plate Glass Mirrors
Before diving into the framing process, it’s essential to understand what a plate glass mirror is. This type of mirror is made from glass that has gone through a polishing process to produce a smooth surface. Plate glass mirrors are popular for their clarity and the quality of their reflection. However, the edges can be sharp and may require protection when framing.
Materials Needed
To frame a plate glass mirror, you will require specific materials
1. Frame You can choose between wood, metal, or plastic frames, depending on your taste and the decor style of the room.
2. Mirror Adhesive or Glazier’s Tape This will secure the mirror within the frame.
3. Miter Saw (if cutting your own frame) To achieve precise cuts for corners.
4. Clamp To hold your frame in place while assembling.
5. Measuring Tape For accurate measurements.
6. Safety Gear Gloves and goggles are recommended for protection while handling glass.
Step-by-Step Framing Process
1. Measure the Mirror Start by measuring the dimensions of your plate glass mirror. Take careful measurements of both the height and width. It’s advisable to measure multiple times to ensure accuracy.
framing a plate glass mirror
2. Choose Your Frame Based on the measurements, decide on the type of frame that complements your space. For a modern look, consider a sleek metal frame; for a rustic feel, a wooden frame might be more suitable.
3. Cut the Frame (if necessary) If you are customizing your frame, use a miter saw to cut the materials at 45-degree angles for the corners. This will help create seamless joints. If using a pre-made frame, skip this step.
4. Assemble the Frame After cutting, assemble your frame using clamps to hold the pieces together while you work. Make sure everything is square and aligned correctly.
5. Secure the Mirror Place the plate glass mirror onto the back of the frame. Use mirror adhesive or glazier’s tape to secure the mirror in place. Make sure the adhesive is evenly applied to avoid any gaps.
6. Allow for Drying If you used adhesive, allow sufficient time for it to cure, as per the product instructions. This is essential for ensuring a strong hold.
7. Finishing Touches Once the adhesive is dry, carefully remove the clamps. You can choose to add a wall mount or some pads at the corners of the back to protect your walls.
8. Hang Your Masterpiece Finally, decide on the placement of your framed mirror. It can be a focal point in your living room, a statement piece in an entryway, or used to create a more expansive feeling in a narrow hallway.
Conclusion
Framing a plate glass mirror can be a rewarding DIY project that not only beautifies your space but also allows you to express your creativity. By following these steps, you’ll be able to create a stunning piece that reflects your personal style and enhances the overall look of your room. Enjoy the process of creating a customized frame that perfectly suits your home!
 Afrikaans
  Albanian
  Amharic
  Arabic
  Armenian
  Azerbaijani
  Basque
  Belarusian
  Bengali
  Bosnian
  Bulgarian
  Catalan
  Cebuano
  Corsican
  Croatian
  Czech
Czech  Danish
  Dutch
Dutch  English
  Esperanto
  Estonian
  Finnish
  French
  Frisian
  Galician
  Georgian
  German
  Greek
Greek  Gujarati
  Haitian Creole
  hausa
hausa  hawaiian
  Hebrew
  Hindi
Hindi  Miao
Miao  Hungarian
  Icelandic
  igbo
igbo  Indonesian
  irish
irish  Italian
  Japanese
  Javanese
  Kannada
  kazakh
  Khmer
Khmer  Rwandese
  Korean
  Kurdish
  Kyrgyz
  Lao
Lao  Latin
Latin  Latvian
  Lithuanian
  Luxembourgish
  Macedonian
  Malgashi
  Malay
Malay  Malayalam
  Maltese
  Maori
Maori  Marathi
  Mongolian
  Myanmar
  Nepali
  Norwegian
  Norwegian
  Occitan
  Pashto
  Persian
  Polish
  Portuguese
  Punjabi
  Romanian
  Russian
  Samoan
  Scottish Gaelic
  Serbian
  Sesotho
  Shona
Shona  Sindhi
  Sinhala
  Slovak
  Slovenian
  Somali
  Spanish
  Sundanese
  Swahili
  Swedish
  Tagalog
  Tajik
Tajik  Tamil
Tamil  Tatar
Tatar  Telugu
  Thai
Thai  Turkish
  Turkmen
  Ukrainian
  Urdu
Urdu  Uighur
  Uzbek
Uzbek  Vietnamese
  Welsh
Welsh  Bantu
Bantu  Yiddish
  Yoruba
  Zulu
Zulu 

